


Americans waste an estimated 30-40% of our food supply every year. There are a few important ways we can reduce this: purchase less food initially, use all food purchased, and eat all leftovers. Composting offers another way to reduce your food waste. Vermicomposting, which uses worms to break down food faster, is an easy option that everyone (even renters and those without backyards) can do. Below, we offer a DIY composting tutorial on starting your vermicomposter.
Why compost? There are many benefits, including:
- Taking out the trash less often (it’ll be less smelly, too)
- Reducing your greenhouse gas emissions. Food waste in landfills contributes to methane emissions. Methane is 28 to 36 times more effective than carbon dioxide in trapping heat in the atmosphere, so reducing your food waste makes a major impact!
- Using the compost and “worm juice” for your house plants or garden
- Reducing your landfill footprint: trash doesn’t just “go away”
How to Make a Renter-Friendly At-Home Worm Composting Bin
Quick Tips
DIY composting with worms is a simple project that allows you to create compost from your food scraps.
- Your worms might seem weird, but they like to be comfortable just like you! Keep them somewhere that’s about 50-75 degrees. They will survive at colder temperatures but will not work as quickly. If they get a little warmer, make sure the environment is not dry.
- Your composter should not smell when closed, so yes, you can keep it in the kitchen! When open, it should smell like dirt, not like rotting food. Remove rotting food if it smells bad.
- 250 worms is a good starting point. You can start with more (especially if you have a lot of scraps), but worms will quickly regulate their population to produce more worms if needed.
- Worms can break down a lot, but do not put in meat, bones, or dairy; tea or coffee bags (the grinds and leaves are great, though!). Put in minimal acids (lemons, limes, oranges, etc.), onion scraps, garlic scraps, and avocados.
- Great things for your bin: egg shells, other fruit and vegetable scraps, coffee and tea grounds, and small yard waste or plants.
- Worms make compost, yes, but you might also find “worm juice” in the bottom tub. Use this to water your plants– it is filled with nutrients!
What you’ll need
- Two large plastic tubs with one lid (I used 20 gallon tubs for a home with 3 people)
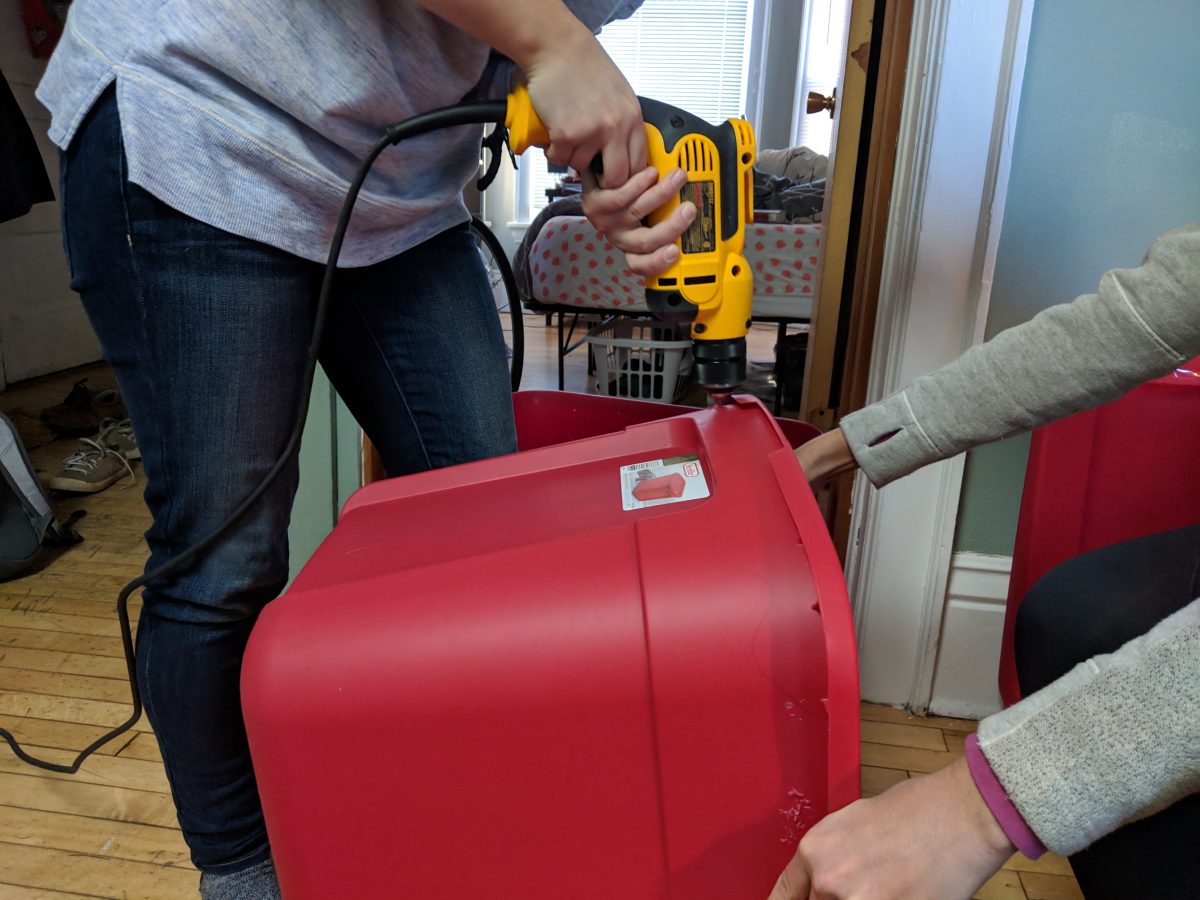
- A power drill with a 1/8th inch setting (or a friend who has one)
- Shredded newspaper, cardboard, or paper bags
- Red wriggler worms, about 250 (can be purchased online if not accessible locally)
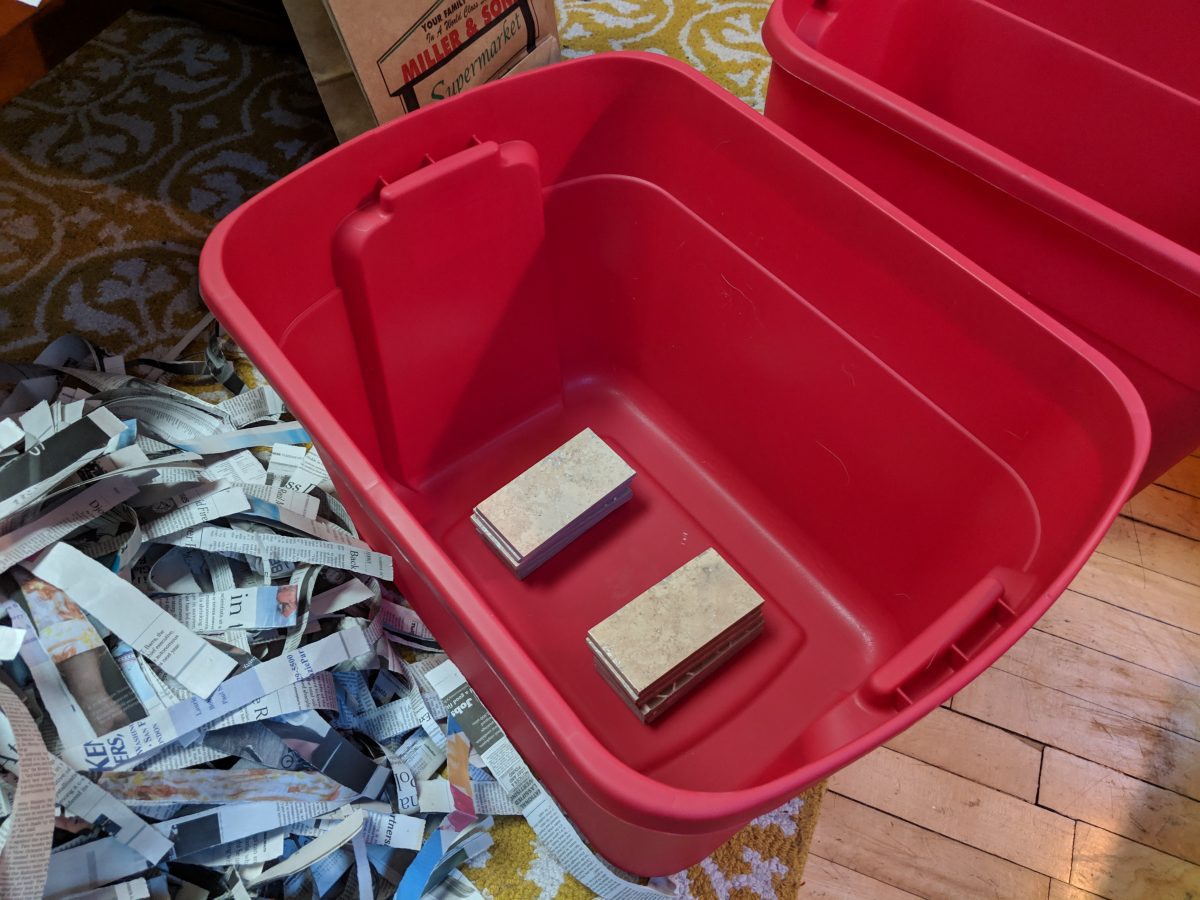
- 2 bricks, small concrete blocks, or 2 6-inch stacks of small tiles
- 1-2 cups of dirt
- A few cups of food scraps or plant material (no meat, dairy, or bones; very limited acids like lemon or lime)
Building Your Worm Composter
1. First, drill 1/8th inch holes in one of the plastic tubs. There should be about 10 holes on each of the following: the lid, the bottom, and around the top of the sides.
2. In the bottom tub (the one without any holes drilled), place your “raisers.” These can be something like a brick, a cement block, or here, a stack of used ceramic tiles. Make sure this is stable and is tall enough to ensure the top tub’s side holes can be seen.
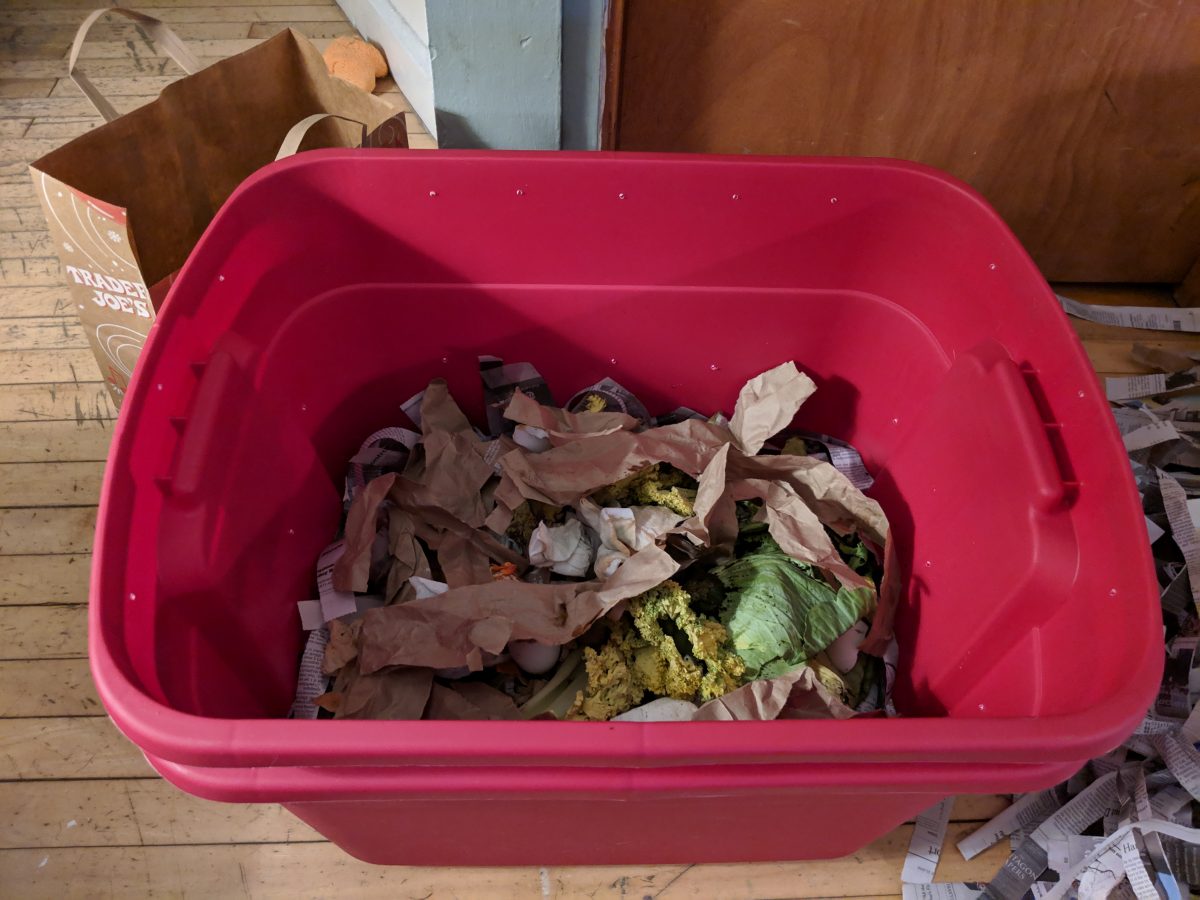
3. Place the top tub (the one with the holes) in the bottom tub. Place a few inches of shredded newspaper, cardboard, or paper bags into the top tub. Then, place your food scraps (remember, NO dairy, bones, or meat!) on top. Start with just a few cups of food scraps.
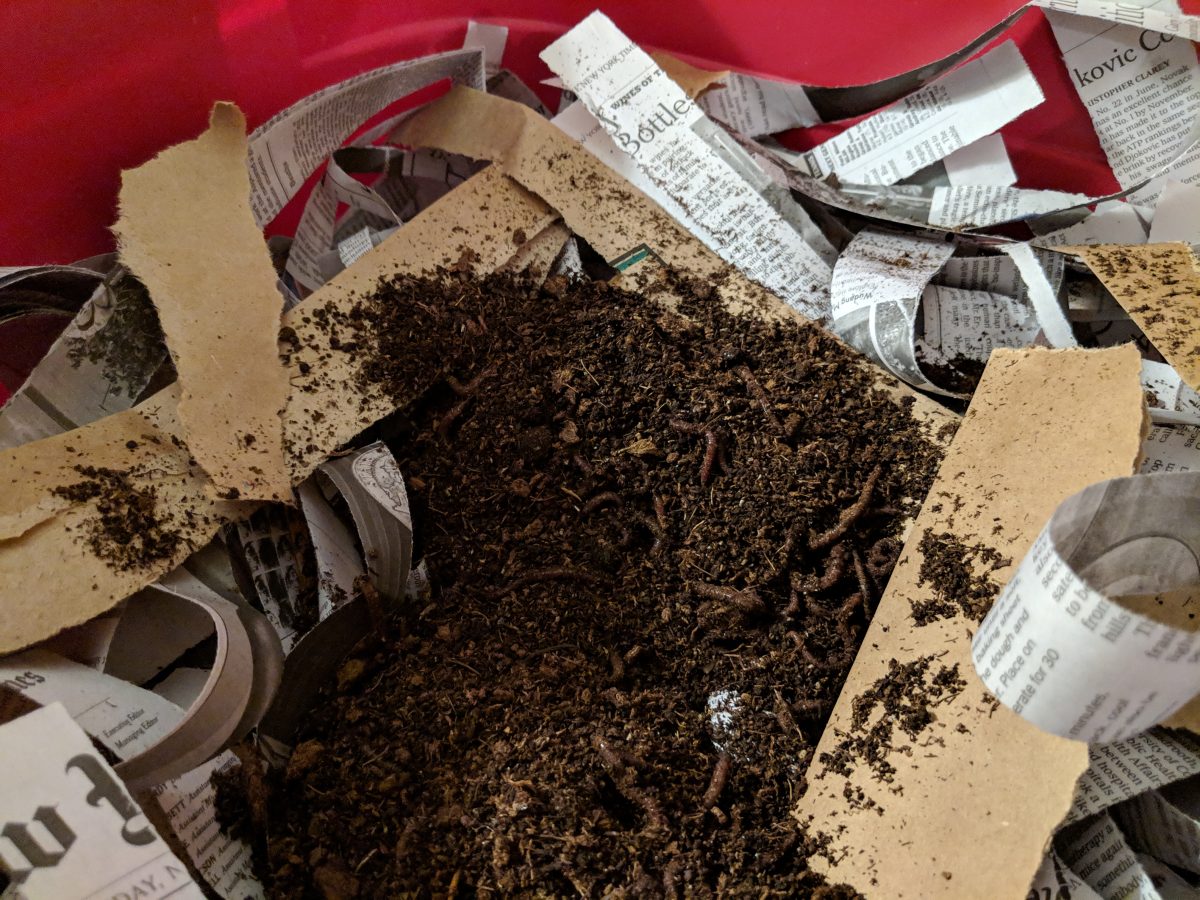
4. Cover the food scraps with a few inches of newspaper and cardboard again (you should not be close to the top of the bin). Then, place your cup or two of dirt, as well as your worms, on top. Spray a few times with water– your composter should be moist but not very wet. You’re done! When you add more scraps, bury them under the top layer of paper to avoid smells and flies.
Interested in learning more sustainability tips? Check out more of our suggested DIY projects!
Comments are closed.